

Why Image Sizes Affect Post-Launch Revision Costs
When building a website, image sizes may seem trivial, but they directly impact page loading speed, layout aesthetics, and ongoing maintenance. Common mistakes made by beginners include: using excessively high-resolution images that slow down loading, inconsistent sizes that disrupt layout, and neglecting responsive design, causing display issues on mobile devices. Each of these requires designers or developers to adjust individually, accumulating into significant time and expense. Therefore, standardizing image sizes during the production phase can effectively prevent rework.
Basic Principles for Choosing Image Sizes
1. Determine Sizes Based on Usage Scenarios
Different positions require different image dimensions. For example: banner images are typically 1920 pixels wide with a height of 400–600 pixels; product display images often use 800x800 or 1000x1000 pixels; article images commonly use 800x600 pixels. Planning these standards in advance avoids frequent cropping later.

2. Consider Responsive Layout
Modern websites need to adapt to various screen sizes. It is recommended to use relative sizes (e.g., percentages) or prepare multiple resolution versions. Additionally, image file sizes should be kept within a reasonable range (e.g., under 200KB) to ensure clarity while improving loading speed.
3. Maintain Consistent Cropping Ratios
Images within the same section should have a consistent aspect ratio, such as 16:9 or 4:3. This prevents uneven displays on list pages and reduces the need for layout adjustments later.
Common Image Size Mistakes and How to Avoid Them
- Mistake 1: Bigger is Better — High-resolution images load slowly, especially affecting mobile experience. It is recommended to output images at twice the actual display size (for Retina screens) only.
- Mistake 2: Ignoring Format Selection — Use JPEG for photos, PNG for icons/logos, and WebP or SVG for simple graphics. Choosing the right format balances quality and file size.
- Mistake 3: Not Keeping Source Files — Saving only compressed versions after editing means you must redesign if adjustments are needed later. It is advisable to keep PSD or AI source files for easy future modifications.

Practical Example: How to Get It Right the First Time
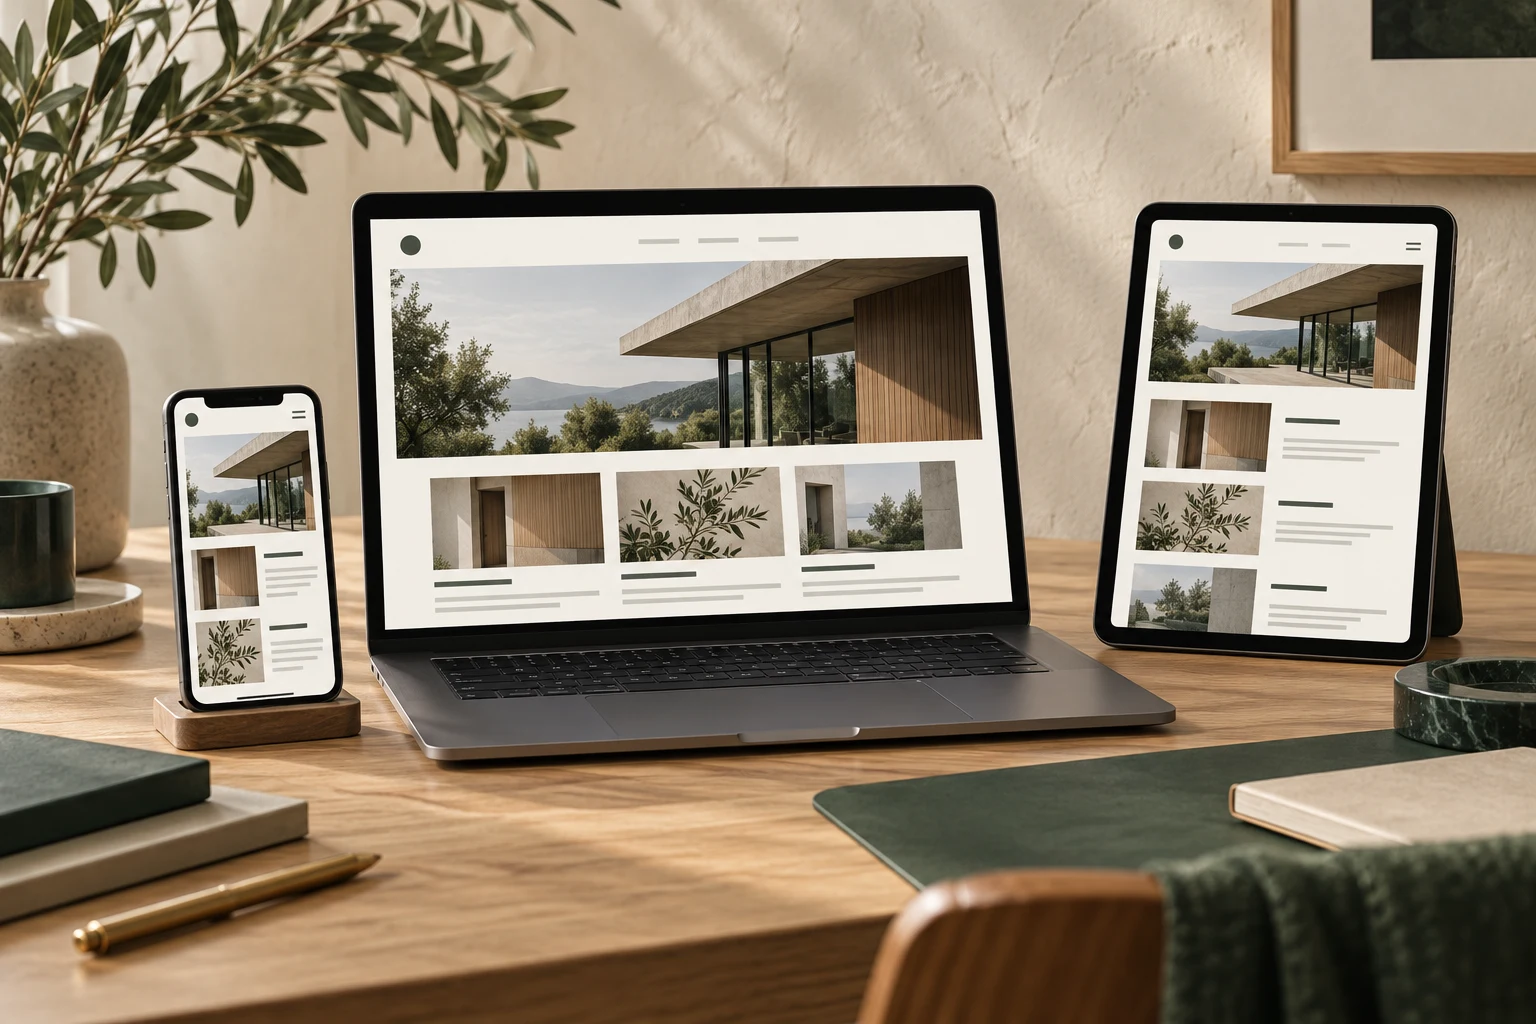
Suppose your homepage needs a banner image of 1920x600 pixels. Design it at this size and save the source file. Also, prepare a mobile version of the same content at 800x400 pixels. This way, no matter what device users have, the image fits perfectly without requiring developers to write extra code for adjustments. In contrast, using only one large image and forcing compression may cause distortion or slow loading on mobile, leading to wasted effort when re-exporting images later.
Tip: Before launching the website, use tools to check the actual dimensions and file sizes of all images. Correct any inconsistencies in advance—this is much more efficient than fixing them page by page after launch.

Summary and Next Steps
For beginners building a website, standardizing image sizes is an effective way to reduce post-launch revision costs. It is recommended to create an image size checklist at the project's start, specifying pixel requirements, ratios, and formats for each module. This ensures that designers, developers, and content editors all follow a unified standard, reducing communication costs and rework. If you are planning a corporate website, starting with this approach can lay a solid foundation for future operations.