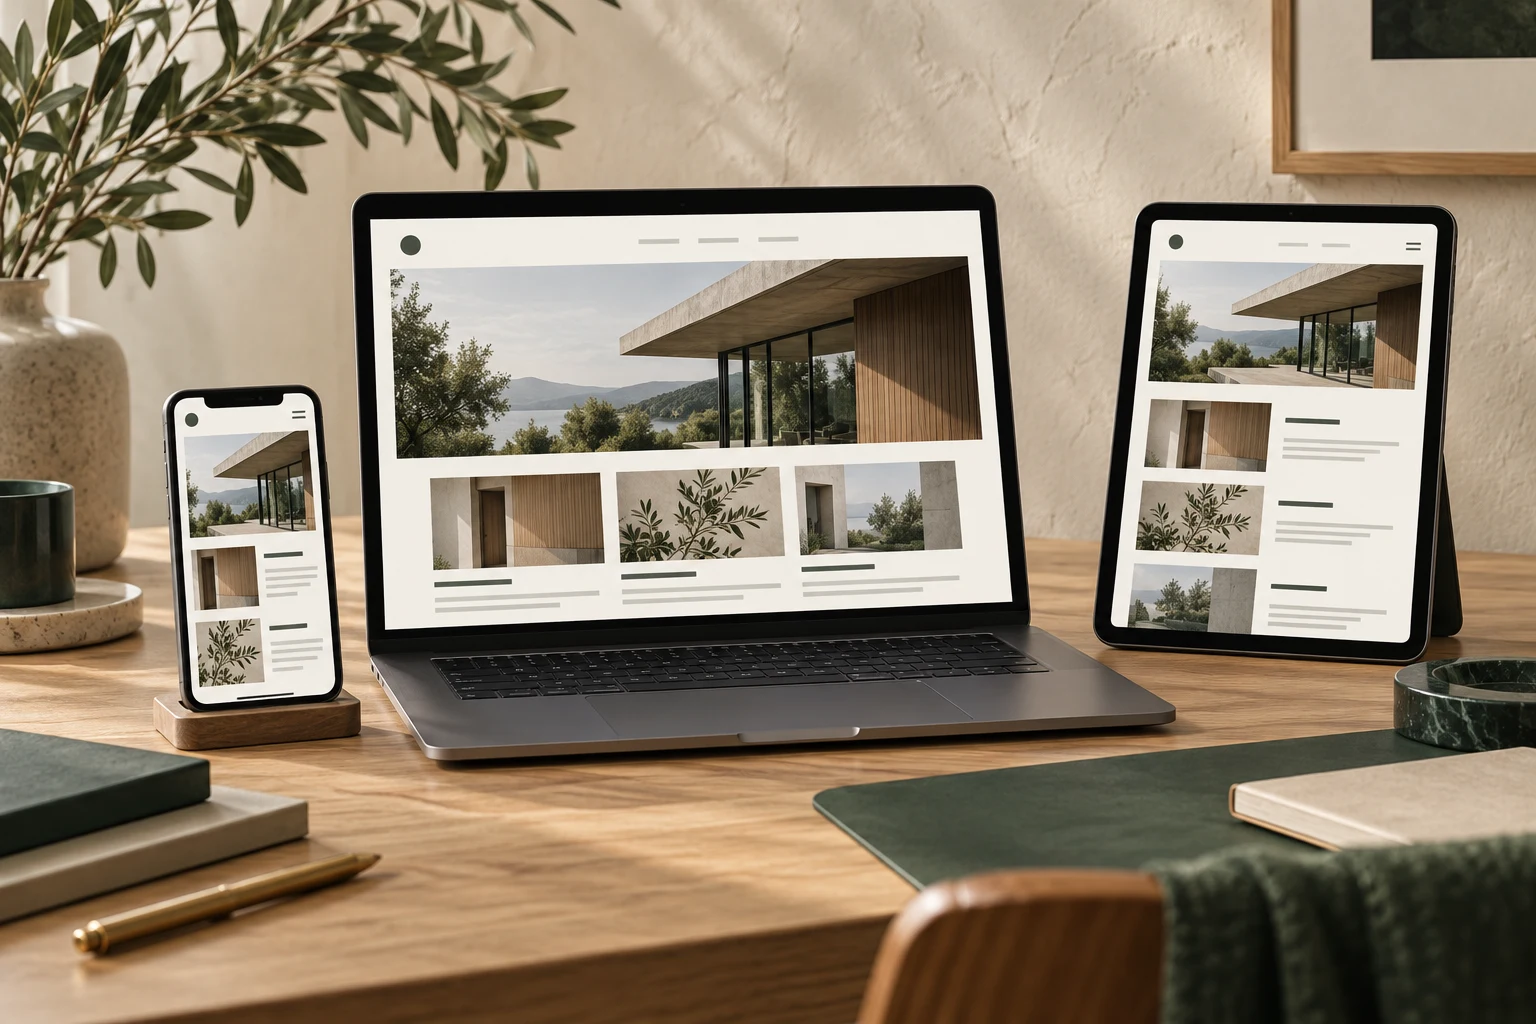



Updating page images is a common task in website maintenance. If image dimensions are not handled properly, images may appear blurry or slow down page loading. This article provides practical guidelines for determining image dimensions from a maintenance perspective, useful for corporate website operators.
Determine Dimensions Based on Image Purpose
The role of an image on a page dictates its dimension requirements. For example:
- Banner images: Typically span wide areas, so dimensions should match the page width and design mockup. Common width is 1920px, but actual display may involve cropping; ensure key content falls within the safe area.
- Product images or content illustrations: Usually have fixed display areas; dimensions should match these areas to avoid distortion.
- Thumbnails: Used in lists or recommendation slots; smaller in size but must remain sharp. Common sizes include 200x200px or 400x300px.

Guideline: First, check the display width and height of the image in the page template (using browser developer tools), then prepare images at twice that size to support high-resolution screens.
Adjust for Layout and Responsive Design
Corporate websites typically need to be compatible with both mobile and desktop. Image dimensions should not be based solely on desktop design. If images scale proportionally on mobile, prepare larger sizes (e.g., 1920px wide) but control file size; if images are cropped on mobile, consider the placement of key content.
Practical tips:
- For full-width images, prepare a width of 1920px with proportional height, and keep file size under 200KB (using compression tools).
- For content area images, match the width to the content area's maximum width, such as 1200px.
- For avatars or small icons, use twice the actual display size; for example, if displayed at 50px, prepare 100px.

Control File Size to Balance Clarity and Loading Speed
Image dimensions include not only pixel size but also file size. Oversized images can slow down pages and harm user experience. Recommendations:
- Use compression tools (e.g., TinyPNG) to keep file sizes within reasonable limits.
- For photographic images, consider converting to WebP format (if browser support allows) or use JPEG with quality settings of 70-80.
- For icons or simple graphics, use SVG or PNG.
Guideline: Keep individual image file sizes under 300KB, and total size of above-the-fold images under 1MB.
Use Meaningful Naming and Backups for Easy Maintenance
When updating images, use descriptive file names such as "product-name-scenario-dimension.jpg" for easier retrieval later. Also, keep original assets and cropped versions for future use in different placements.

Check Display After Updates
After uploading new images, verify they display correctly on different devices (desktop, mobile), checking for stretching, blurriness, or improper cropping. Use browser developer tools to simulate various screen sizes.
In summary, when updating page images, first clarify the purpose and layout, then determine pixel dimensions, control file size, and use proper naming and backups. This approach ensures visual quality without compromising loading speed.