


When organizing website assets, image dimensions often become the most perplexing aspect. You want pages to load crisply, yet worry about large files slowing things down; you aim to adapt to various devices, but don't want to create a separate set of images for every screen. In practice, there's no single standard for image dimensions; instead, choices should be based on the image's purpose, site structure, and maintenance approach. This article outlines several practical strategies for colleagues responsible for website upkeep.
Start by Categorizing Images by Use, Then Set Dimension Baselines
Website images generally fall into several categories: banners, column thumbnails, article images, product photos, and background images. Each type occupies different display areas and has varying requirements for clarity and file size. When organizing assets, it's advisable to first establish usage categories, then set a baseline dimension for each, ensuring consistency and avoiding confusion during later use.
For instance, banners typically span wide areas at the top or middle of a page, with widths ranging from 1200 to 1920 pixels, depending on the site's maximum layout width. For responsive designs, prepare images at the maximum display width and use CSS to scale them down on smaller screens. Column thumbnails, used in list pages, have relatively fixed dimensions, commonly 400×300 or 300×200 pixels, based on the grid size. Article images have no strict limits, but it's recommended to keep widths within the content area, such as 800 or 1000 pixels, to avoid stretching or compression.
After defining usage, create a simple dimension reference table, for example: banner width 1920 pixels, thumbnail 400×300 pixels, article image width 800 pixels. This allows quick assessment of whether an image meets requirements, reducing repeated adjustments.

Balance Display Quality and Loading Speed by Controlling File Size
Image dimensions refer not only to pixel size but also file size. Pixel dimensions determine clarity, while file size impacts loading speed. Corporate websites typically don't require the extreme quality of photography sites; under the premise of acceptable clarity, smaller files are preferable. Generally, keep individual images under 200KB, though complex images may be slightly larger, but try not to exceed 500KB.
Several methods help control file size, such as choosing appropriate formats when saving. Use JPG for photos due to high compression; PNG for icons and logos with transparency; consider WebP for simple graphics, but check browser compatibility. Additionally, use image editing software or online tools to adjust compression levels, reducing file size while maintaining visually acceptable clarity.
Be cautious not to over-compress, which can lead to blurriness. Evaluate by viewing images on the actual page to ensure text and details remain sharp.
Consider Responsive Needs, but Avoid Creating Separate Images for Every Device
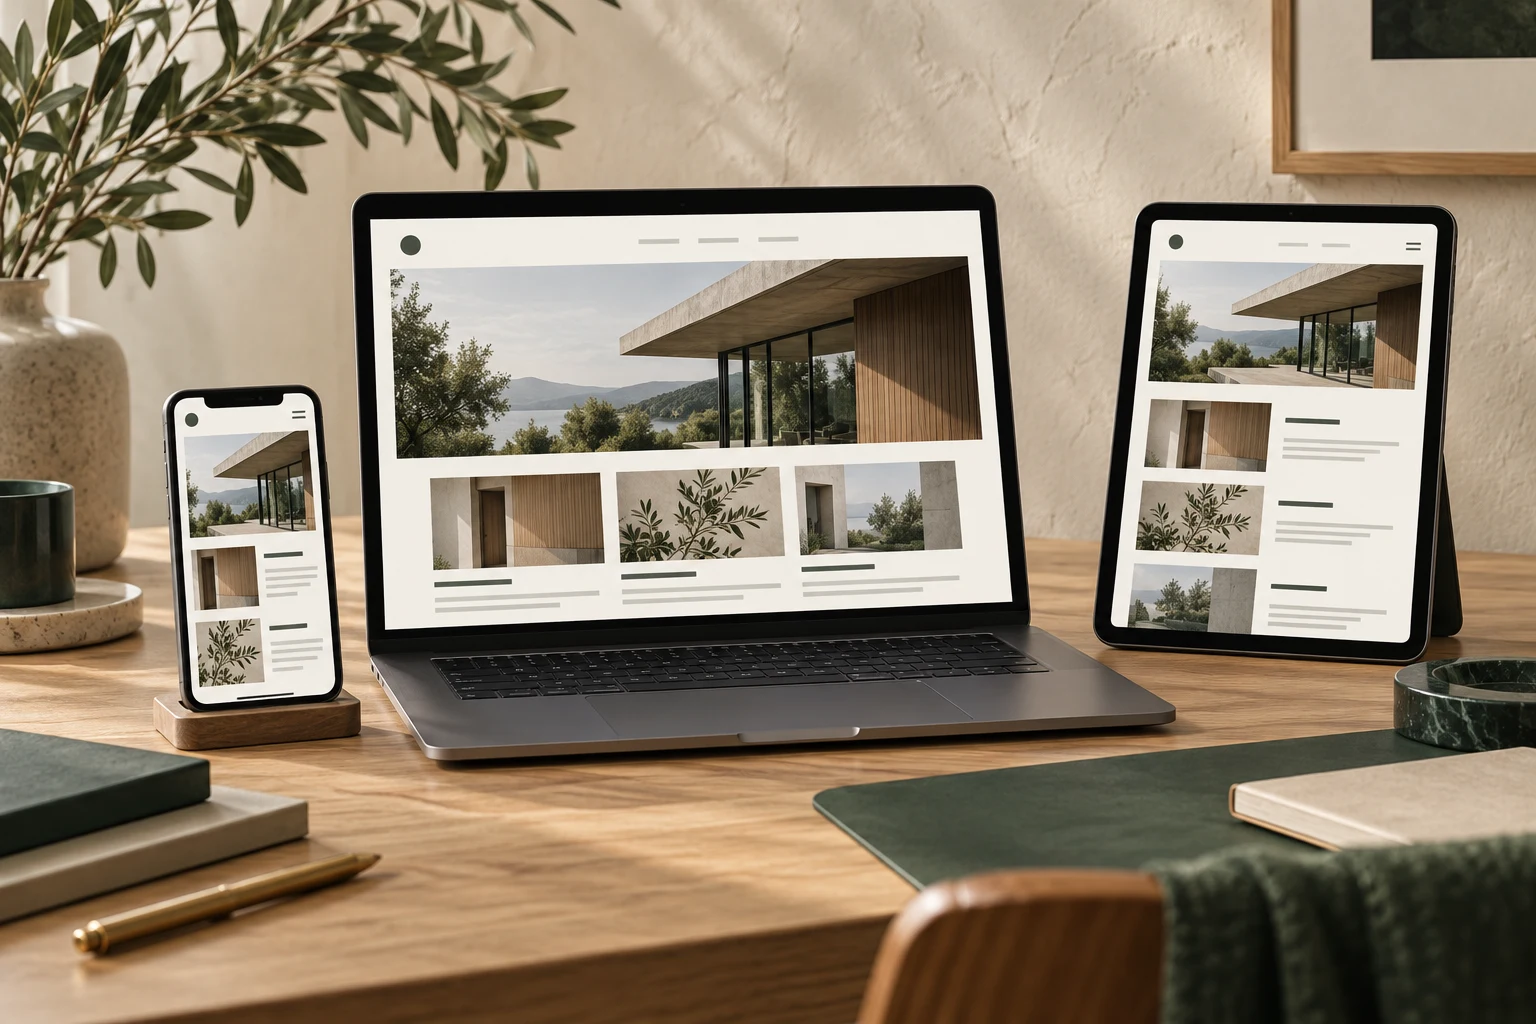
Many corporate websites are accessed via mobile, tablet, and desktop, requiring images to adapt to different screen widths. A common approach is using CSS to make images fluid within containers, but this may load oversized images on mobile, wasting bandwidth. Another method involves preparing multiple image sizes and loading them via media queries, but this increases maintenance efforts.
For most corporate sites, a compromise works: prepare a larger image for desktop, and use compression and CSS scaling for mobile. If traffic is low or images aren't central, this suffices. If images are crucial and mobile optimization is desired, prepare two sizes, e.g., desktop 1920px wide and mobile 750px wide, and use the srcset attribute in HTML to serve appropriate versions.
When organizing, you might create folders like "desktop" and "mobile," but avoid over-segmentation. The key is ensuring users see clear, fast-loading images, not obsessing over perfect adaptation to every pixel width.

Reserve Space for Future Maintenance with Unified Naming and Backups
Organizing image dimensions isn't just technical; it involves team collaboration and long-term upkeep. If multiple people maintain the site or staff changes occur, unified naming conventions and backup strategies are vital.
For naming, include purpose, dimensions, or date, e.g., "banner-home-1920x500-v1.jpg" or "product-a-400x300.jpg." This facilitates quick identification of purpose and specs, avoiding duplicate work. Also, keep original design files (like PSD or AI) for future modifications or re-exports, stored separately from final images.
For backups, regularly sync assets to cloud storage or local drives to prevent server data loss. Especially for live images, retain historical versions for recovery during redesigns or issues.
Leverage CMS Features to Simplify Image Processing
Many corporate sites use website builders or content management systems (CMS) with built-in image handling, such as auto-cropping, compression, or thumbnail generation. Utilize these features to reduce manual work.
For example, the CMS might allow uploading original large images and automatically generate thumbnails for list or detail pages. In such cases, you only need to prepare a high-quality original, and the system adapts it. However, check auto-generated images for quality issues. Also, CMS may impose upload size limits; compress images beforehand if needed.

If the CMS lacks such features, consider third-party image processing services, but ensure data security and privacy. For most corporate sites, built-in features plus manual adjustments suffice for daily needs.
Conclusion: Prioritize Practicality and Establish a Customized Image Dimension Standard
There's no one-size-fits-all standard for image dimensions; the key is to develop a practical framework based on your site's specifics. Focus on usage categorization, pixel dimensions, file size, responsive adaptation, and naming/backup practices, refining gradually. The ultimate goal is images that display clearly without slowing the site, while facilitating team collaboration and long-term maintenance.
If your site's images are currently disorganized, start by reviewing current pages, identifying blurry or slow-loading images, and replacing them first. Simultaneously, establish a simple workflow for future assets, such as "define purpose, choose dimensions, compress and upload," ensuring consistency with every new image added.