


When designing article covers, image compression is essential. However, many people jump straight into using compression tools, only to find themselves repeatedly adjusting without satisfactory results. In fact, proper preparation before compression can save a lot of time on later adjustments. Simply put, you need to prepare the original image quality, determine the usage scenario, clarify format and size requirements, and then choose a compression tool. Below is a specific list of what to prepare.
Clarify the Usage Scenario of the Cover Image
Different platforms have different requirements for cover images, so it's important to understand them in advance:
- Website Blog: Typically, widths range from 800 to 1200px, with common aspect ratios of 16:9 or 4:3. File size is recommended to be under 200KB.
- Social Media: Platforms like WeChat and Weibo have varying size requirements for different positions, often requiring aspect ratio adjustments and file size limits.
- Print or High-Definition Display: Requires higher resolution and quality, so compression must retain more detail.
Once the usage scenario is clear, you can set reasonable compression goals.

Prepare High-Quality Original Images
Compression inevitably loses detail; the higher the original quality, the better the compressed result. Key points to note:
- Resolution: The original resolution should be at least twice the final usage size to avoid blurriness when enlarged.
- Clarity: The original image should be sharp, free of noise, with crisp edges for text or logos.
- Color Mode: Use RGB mode for web display and CMYK mode for print. Determine this in advance to avoid color shifts during conversion.
Choose the Right Image Format
Different formats have different compression strategies:
| Format | Use Case | Compression Tips |
|---|---|---|
| JPEG | Photos, images with rich gradients | Adjust quality parameter, typically around 80%; suitable for lossy compression. |
| PNG | Images needing transparency, text, icons | Use PNG-8 to reduce file size; lossless compression but larger files. |
| WebP | Modern websites, balancing quality and size | Supports both lossy and lossless; usually 25-30% smaller than JPEG, but check compatibility. |
| SVG | Vector graphics, icons | Code-based; compress code size, no scaling limitations. |
Choose the format based on the cover image content, rather than blindly using one type.
Determine Final Size and Aspect Ratio
Set the final cover image size before compression to avoid cropping or resizing afterward, which can degrade quality. Recommendations:

- Fixed Dimensions: Follow article templates or platform specifications.
- Add Bleed: For print, leave margins for trimming.
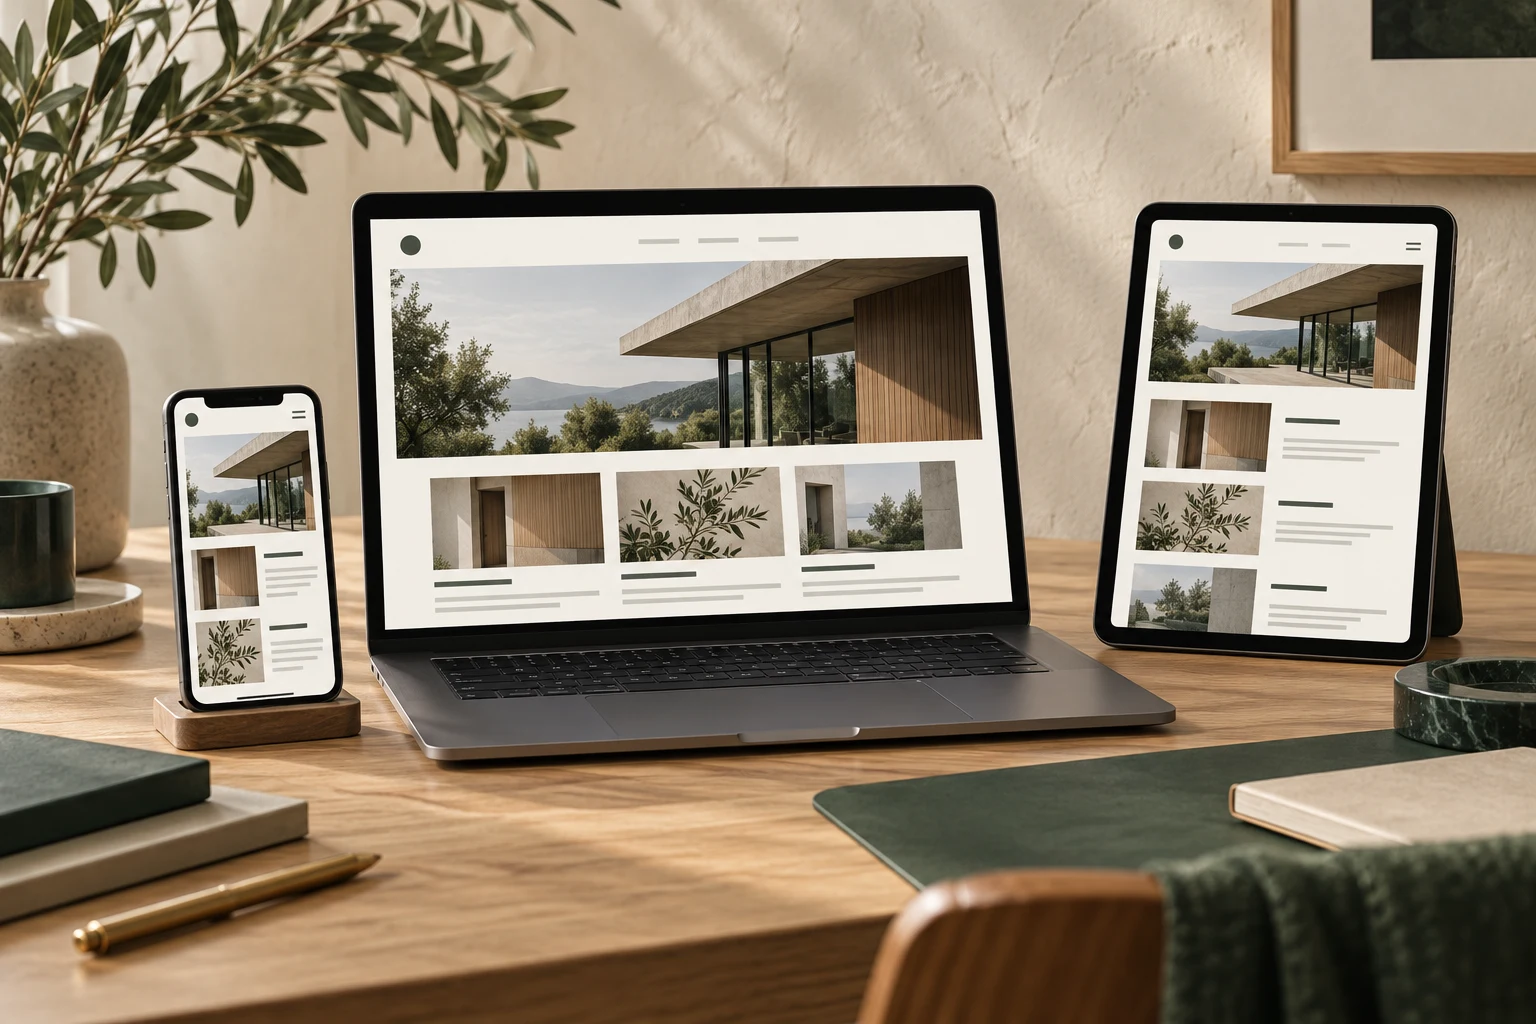
- Consider Responsive Design: If the website is adaptive, prepare multiple size versions and optimize each during compression.
Assess Acceptable Quality Loss
Based on the importance and display environment of the cover image, set a minimum quality standard:
- Informational Covers: Focus on text or data; ensure text clarity, accept mild compression artifacts in the background.
- Visual Covers: Focus on photos or illustrations; retain smooth transitions and details, avoid heavy compression.
- Brand Covers: Include logos and brand colors; ensure color accuracy, avoid distortion in color blocks.
Conduct a simple test: preview the compressed image on different devices. If no obvious degradation is noticeable, it's acceptable.
Prepare Compression Tools and Settings
Common compression tools include:

- Online Tools: Such as TinyPNG, Compressor.io, suitable for single images; note file size limits and privacy.
- Local Software: Such as Photoshop, Fireworks, offering precise control for batch or fine adjustments.
- Plugins/Scripts: Such as WebP conversion tools, which can be integrated into workflows.
Once tools are ready, set parameters based on previous preparations: quality, size, format, and whether to retain metadata.
Important Notes
Conclusion
With the above preparations, image compression can proceed smoothly, reducing the hassle of repeated adjustments. Choose the right strategy based on the actual usage scenario, balancing file size and visual quality. It's recommended to test loading speed and display effect on the target platform before final use to ensure it meets expectations.